Archives

Categories

Fix your Wilderness Systems AirPro Seat

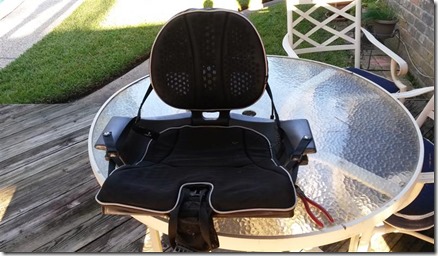
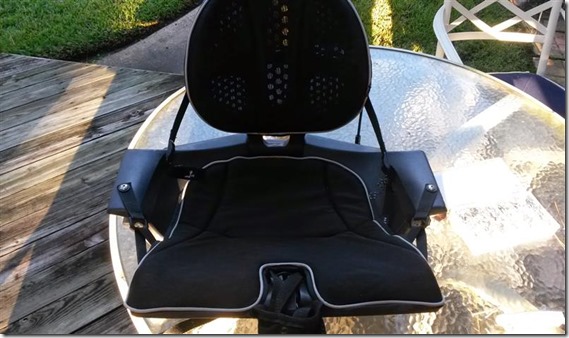
20131101_173341 (Medium)If you have bought a wilderness Systems kayak in the last few years there is a good chance it has an AirPro seat in it.  An AirPro Freedom Elite seat to be exact.  They come in both a low and high model.  I was pleasantly surprised how comfortable it was when I got my Ride 135.

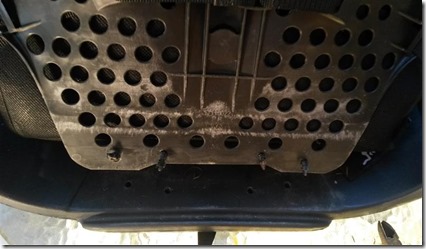
They have an unfortunate habit of coming apart where the bottom (flat part you sit on) attaches to the frame.  The use plastic “Christmas tree” connectors that get chewed up with regular use and they wont’ stay stuck.  If you use your kayak a lot like I do, this will happen to you sooner or later

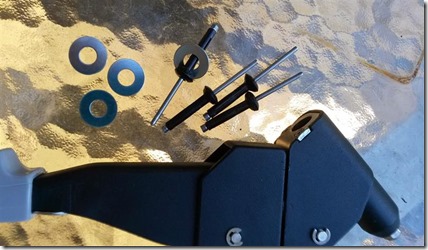
Here is an easy and quick solution that will make it better than new.  All you will need is’;

  1. something to cut the plugs like needle nose pliers
  2. (4) “kayak rivets”, the bottoms expand extra wide like these from ACK
  3. (4) washers with a center hole smaller than the rivet heads, stainless steel would be best
  4. a rivet gun


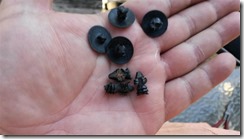
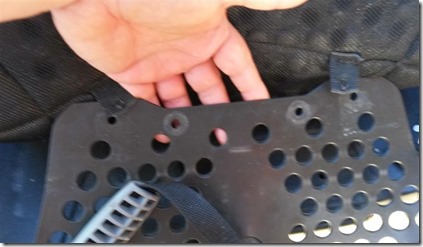
20131101_171008 (Medium) All my “Christmas trees” got chewed up and wouldn’t stay in the holes below.  That means my seat didn’t support my legs very well and was floppy in general
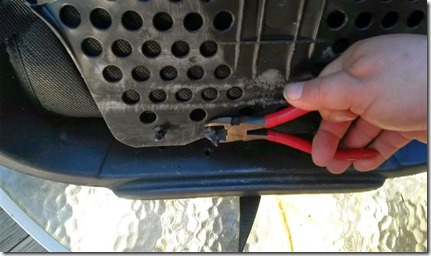
20131101_171032 (Medium) so I cut them off
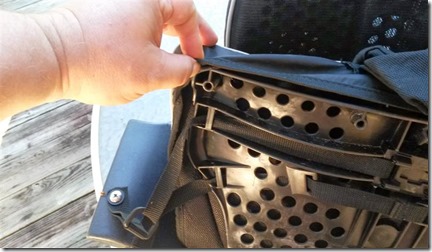
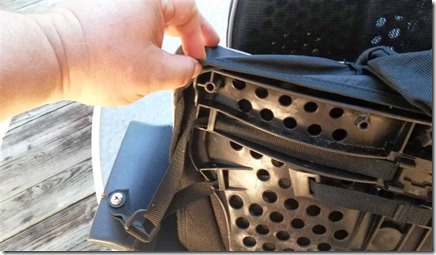
20131101_171124 (Medium) Then I needed to get the cover off the seat to get to the top of the plastic pan.  You have to pull pretty hard to get it off but it’s tough, don’t worry.
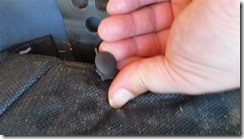
20131101_171153 (Medium) 20131101_173510 (Medium) Then I pulled out the plastic tops (or bottoms depending on how you look at it) of the Christmas trees
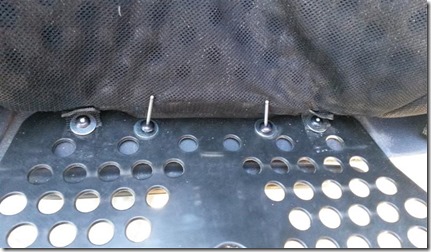
20131101_171240 (Medium) You can see the 2 straps that hold the seat cover to the plastic pan and the seat frame on the bottom
20131101_172640 (Medium) Here is what we are going to use to fix the seat
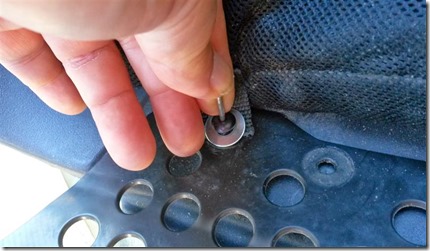
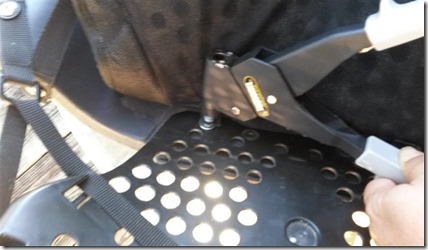
20131101_172715 (Medium) Put the washer on the bottom of the rivet then put the rivet through the seat strap

, bottom pan and finally into the corresponding hole in the seat frame

20131101_172104 (Medium) Keep the rivet pressed down against all the layers while you squeeze the rivet gun handles a couple of times breaking off the top of the rivet after it pulls tight
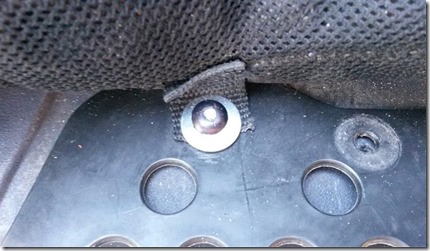
20131101_172805 (Medium) The cut off rivet is pretty flat and no sharp edges stick out.  Most of us have more than enough posterior padding to compensate for the slight bump
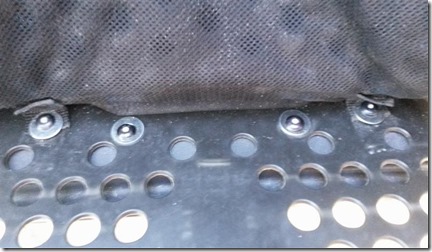
20131101_173002 (Medium) Now repeat for the other 3
20131101_173125 (Medium) The finished job is stronger than the OEM solution.  If you ever needed to replace the cover you would need to drill out the 2 outside rivets
20131101_171124 (Medium) Lastly pull the cover back on, this was the hardest part of the job, just wiggle it till you win
20131101_170950 (Medium) The whole job should only take you about 10 min and if you have access to a rivet gun the materials will cost you less than $3

I want to thank Andy at ACK for showing me this repair.  I thought there were many others who could benefit.

Comments are closed.